Collect the display specifications
Record the monitor's exact model and find its weight without the removable stand. Compare it with the permitted range of the proposed mount rather than just an advertised maximum. A minimum can matter for an adjustable arm too. Check the intended mounting pattern and any particular features of the display's rear surface.
Ergotron identifies weight and the appropriate VESA attachment as important selection factors. Suitability still needs checking for the exact combination. Deep or curved displays can have additional manufacturer conditions. A compatible diagonal size therefore replaces neither a weight comparison nor the exact arm's compatibility information.
Inspect both sides of the desk edge
Measure the top's thickness where the clamp will sit. Look underneath as well: a crossbar, drawer or cable tray may obstruct the lower bearing area. A bevelled edge may not offer the same attachment surface as a square one. Photograph the position from above, below and the side if you need to discuss suitability with the supplier.
Check the desktop construction in its documentation. A lightweight hollow structure must not be treated as a solid top. Additional reinforcement is useful only within confirmed suitability; it does not automatically make an unsuitable attachment safe. If the required information is missing, obtain a clear answer before buying. Another mounting method may be an alternative, but it has its own installation conditions.
Draw the complete movement area
Decide which positions the display needs. Will it be adjusted once or moved between two people? Draw the space occupied by the joints during movement. Some arrangements need room behind the desk. A desk standing directly against a wall may therefore require a different mounting position from the product photograph.
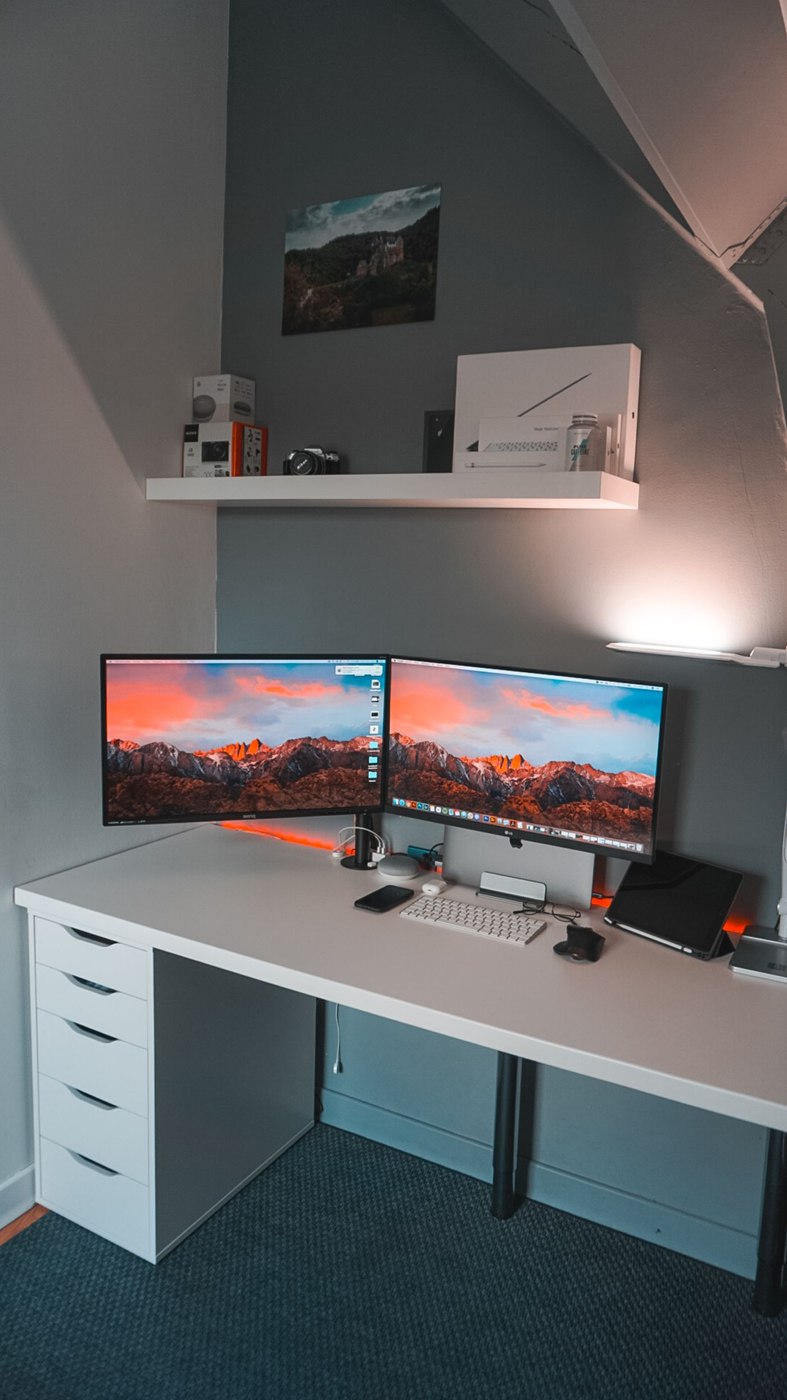
Check whether the monitor can reach the intended low position or collide with another display. The arm's theoretical movement does not mean every position works in the actual room. With two screens, consider width, height adjustment and joint positions together. Test the proposed outer dimensions with lightweight templates before choosing a dual mount.
For two displays, include replacement and adjustment
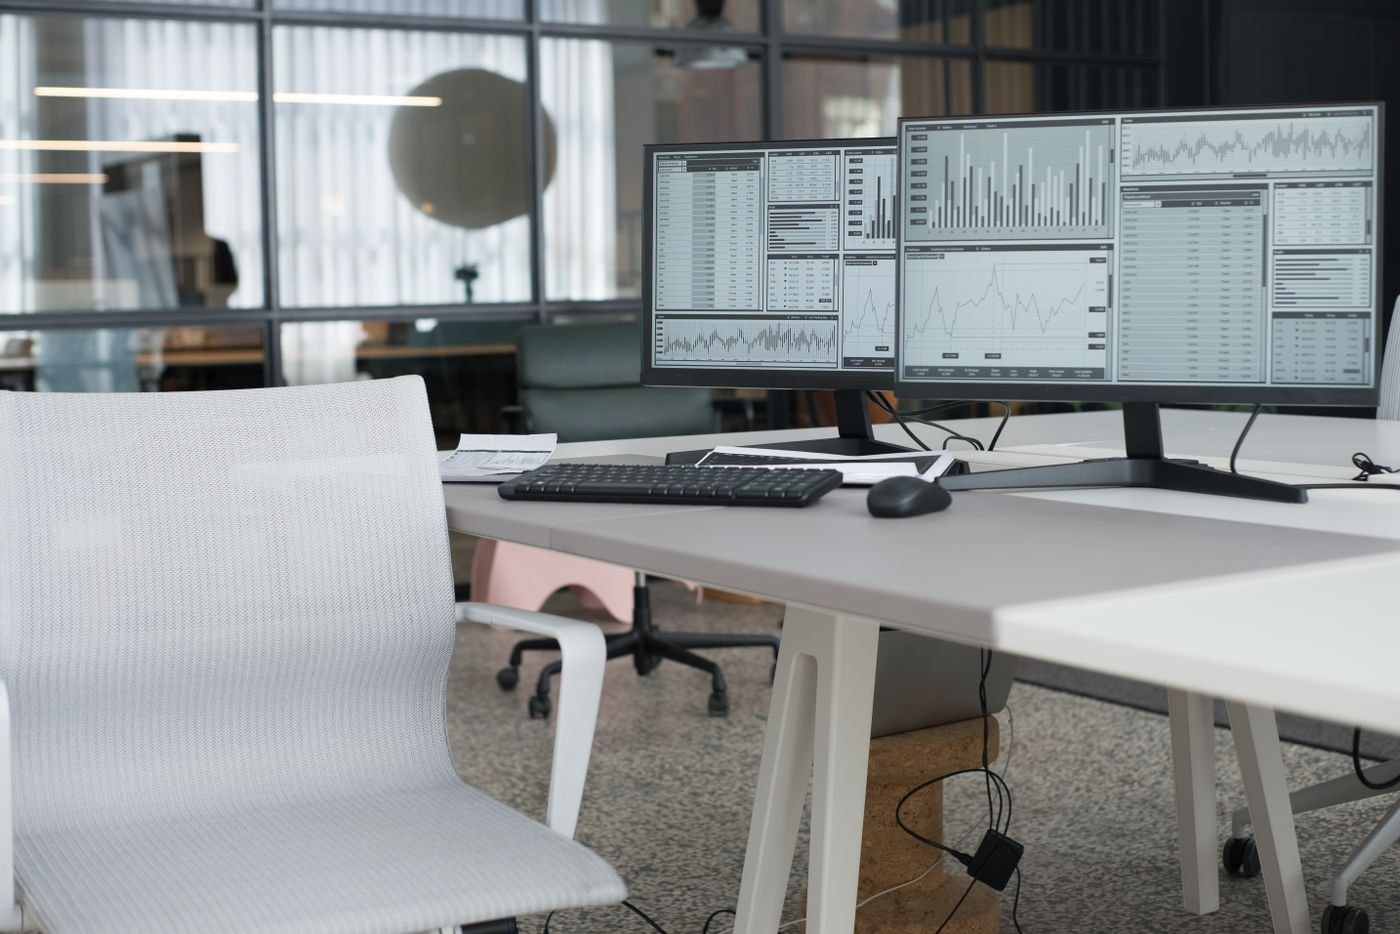
A dual mount links the planning of both screens. Check that each device falls within its own permitted range and that the desired arrangement works with both simultaneously. Two individually suitable weights are not the complete assessment if the manufacturer specifies additional conditions for the combination. Record model designations separately even when the devices look alike.
Consider replacing only one monitor later. Different housing heights or rear attachment positions can alter shared alignment. Separate arms provide different adjustments from a rigid common attachment. Choose around the expected working routine rather than the tidiness of a product photograph.
At a shared desk, establish which movements are intended for daily changes and which belong to installation. Pass on the relevant instructions so nobody loosens an attachment merely to reposition the screen. A short demonstration on the actual mount is more useful than saying that the arm is movable. Store required adjustment tools off the working surface but in a known location. Before moving the whole desk, also check the instructions for securing or removing the mounted equipment rather than treating it as part of the furniture.
Prevent cables from limiting movement
Route cables so every intended position is possible without pulling on connectors. Use provided routing features according to the instructions and inspect the path at each joint. A cable should neither become taut nor enter a moving joint. Leave the required allowance where it is needed instead of hanging a large loop across the desktop.
An adjustable desk adds its own movement. Check the whole combination rather than testing the monitor arm only while the top is stationary. Devices on the floor or wall change the necessary cable route. Keep the area clear and follow both manufacturers' safety and assembly directions.
Treat installation as a separate task
Prepare a suitable protected place for the display and gather the required tools. Follow the assembly sequence and fastening requirements. If the device's weight or shape requires a second person, arrange that help. Do not improvise screw lengths or spacers when the correct parts are missing.
After installation, make the specified adjustments according to the instructions and initially move the screen in a controlled way. Watch for changes at the attachment to the top or tension in cables. Arrange the remaining desk surface afterwards. Keep the original stand and its screws labelled if the display may later be used without the arm. This preserves the option of returning to its stand without another search for suitable parts.