Document the existing connection
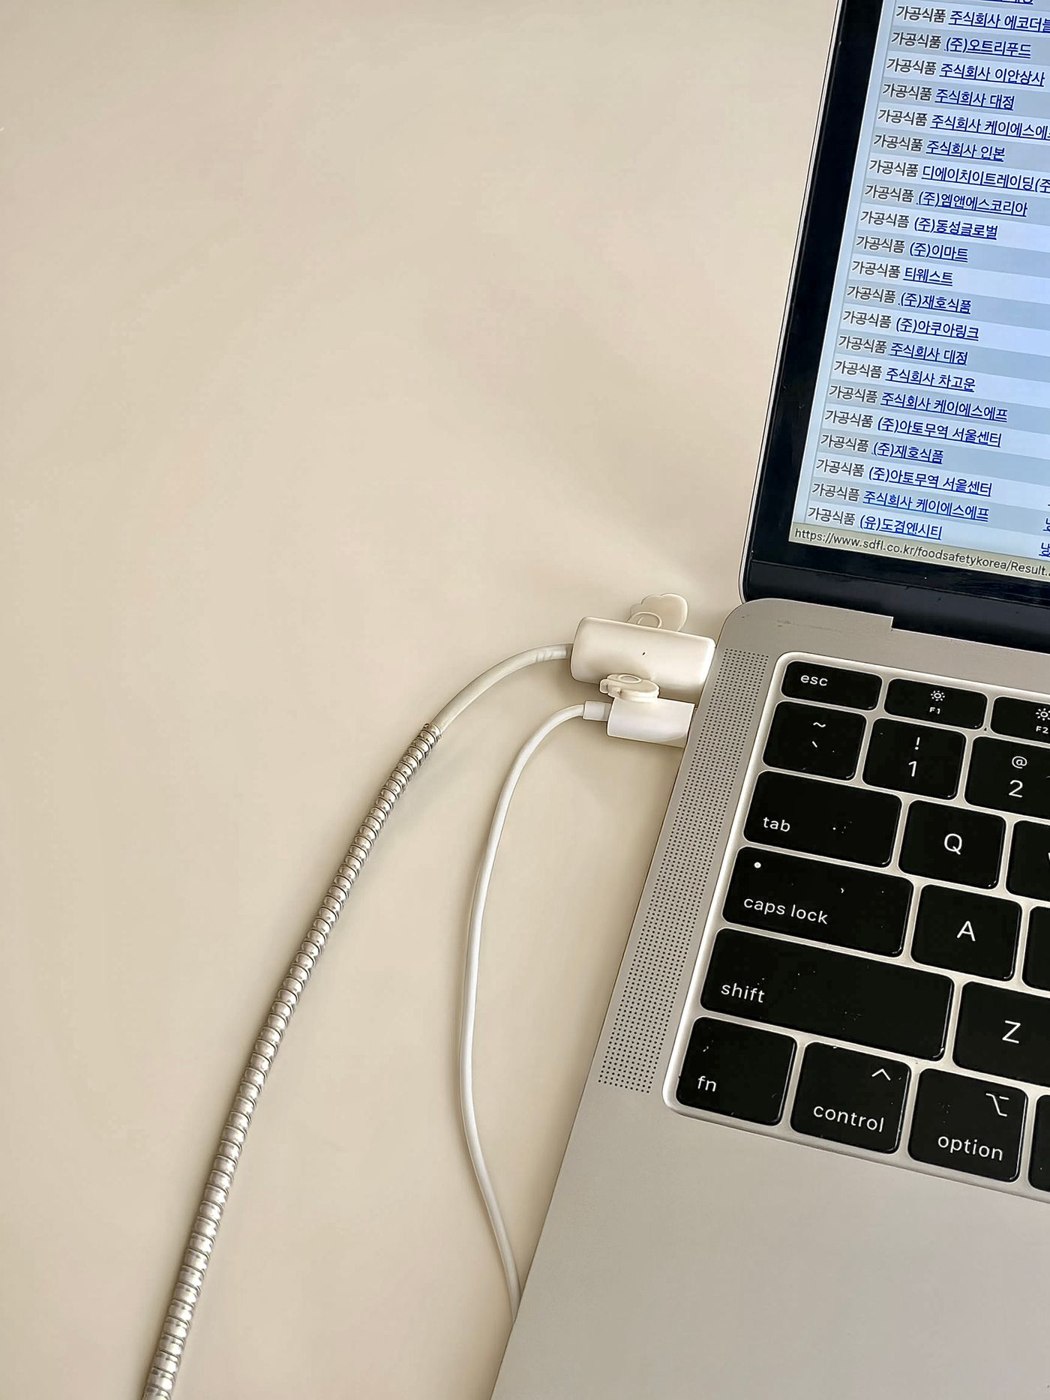
Record the exact laptop model and photograph the port currently in use. Then find its description in the device manual. The photograph helps identify the connection but does not establish its capabilities. With USB-C, the same shape can represent different functions. Note any dock or adapter between computer and screen.
Write down the current resolution and intended new display setting too. Changing monitors is more than matching sockets. The entire combination must support the desired resolution and refresh rate. Check the computer, intermediate accessories and display instead of replacing only the final cable.
Check every part of the route
Draw the path from laptop to monitor. Label the output, cable, any adapters and input. Check that each part is intended for the required direction and function. A cable with matching ends is not proof that it carries every advertised feature of the new display.
If you also want charging or USB peripherals connected through the screen, list those requirements separately. Check them independently of basic video output. Read the monitor's connection descriptions carefully; not every socket serves the same purpose. Establish which cables are included and which must be obtained separately.
Assess display and USB functions separately
A monitor can show a picture while a keyboard connected to it still has no connection to the computer. Create separate checks for video, audio where required, USB accessories and charging. Include only the functions you actually need. This reveals whether the connection covers the complete intended workspace or merely one part of it.
Once the test succeeds, photograph the connections and record the cable identifiers. If a cable is later borrowed elsewhere, the original combination can be restored. Avoid placing unsuitable but similar-looking leads immediately beside it. A working setup should remain understandable to someone covering the workspace without requiring them to research every technical specification again.
Configure the new screen methodically
Begin with one clear connection route without unnecessary additional equipment. Select the intended input on the monitor, then inspect the computer's display settings. Compare the available setting with the requirement you recorded earlier. A visible picture alone does not mean the desired configuration has been achieved.
If something is missing, change one component at a time and record the result. Use official guidance for the exact device rather than assembling arbitrary adapter chains. For a work laptop, the responsible IT team can confirm supported configurations. Keep the previously working connection available during testing so you can return to a known state. Retain the final cable and port details with the display model for future changes.