Identify the intended speaking direction
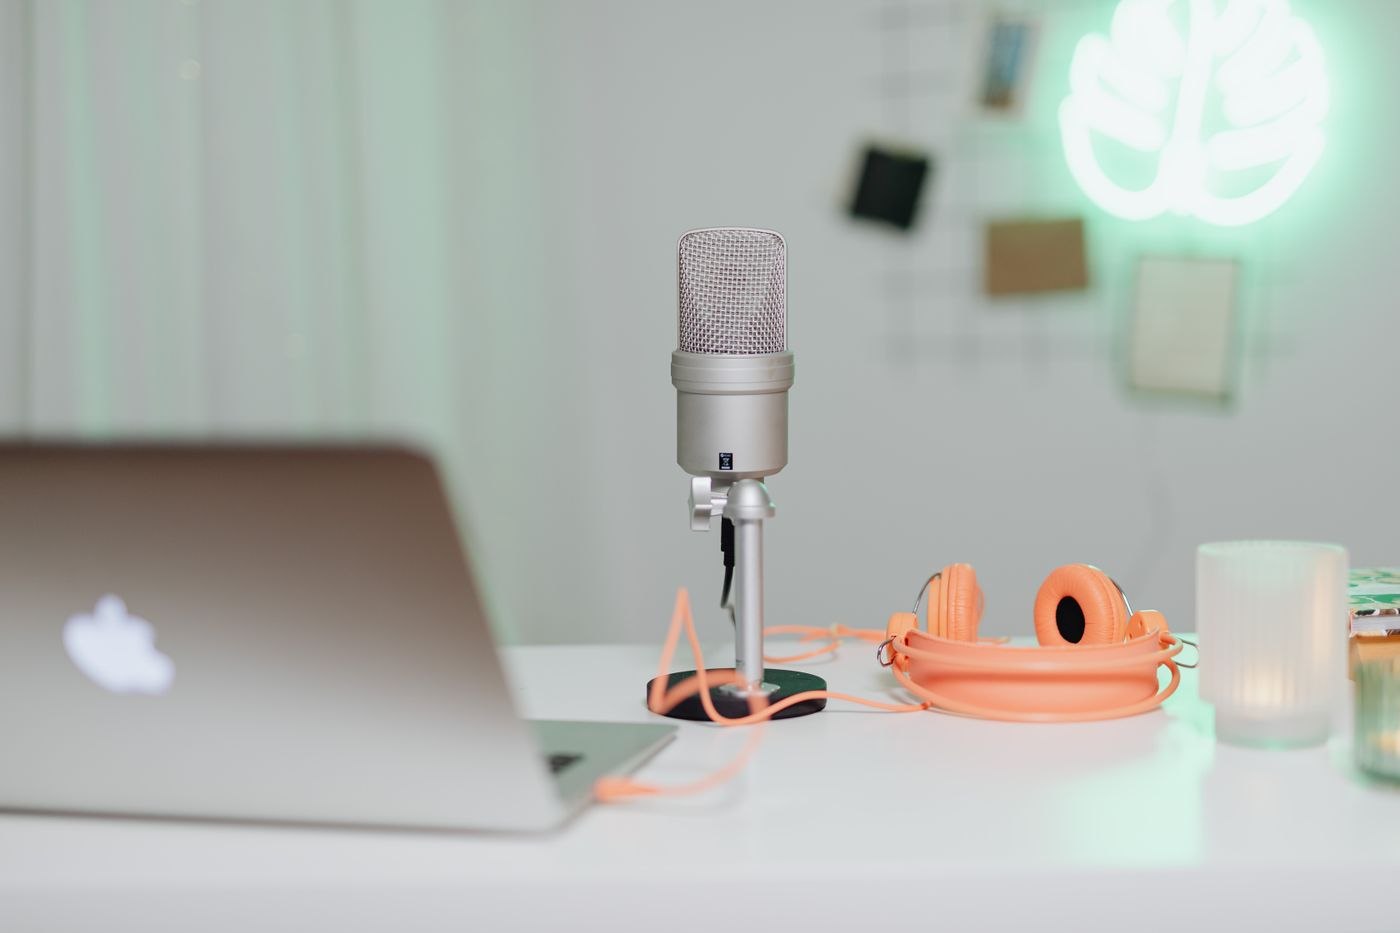
Read the manual to establish which side or direction you should speak towards. The visible shape does not always make this clear. Begin with that placement and explicitly select the microphone as the input in your application. Otherwise, a recording may still come from the laptop's built-in microphone.
Make a short recording in your normal voice. Then change only the microphone position and record the same passage again. Keep other settings as consistent as possible so the effect remains identifiable. Shure's microphone guidance recommends finding a suitable position and maintaining the distance for consistent transmission.
Include typing and desk movement
During another test, type several sentences and put down a pen. Listen for whether those ordinary movements are transmitted prominently. A microphone beside the keyboard may behave differently from one positioned to the side. Investigate location and direction before changing several software filters simultaneously.
For a boom arm, its attachment is part of the plan. It should not obstruct the screen or interfere with reaching for documents. Check suitability for the desk, arm and microphone, including the complete movement range. A tabletop stand needs a stable surface too; it should not sit on a loose paper pile.
Also check access to objects behind the microphone. If opening a drawer or reading a document requires moving the arm repeatedly, the tested position is unlikely to survive everyday use. Identify a resting position for periods without calls. Cable and mount should accommodate the change between working and resting positions without requiring the attachment to be loosened each time.
Account for movement during speech
Do more than speak directly ahead without moving. Turn towards a note or second screen, then listen to how the recording changes. Choose a location that accommodates your ordinary movements. If you regularly move well away from the desk, a fixed microphone may not suit that task.
Route the USB cable without strain and establish a clear way to mute. Test it in the actual meeting application. After changing devices, verify the selected input again, because a connected microphone is not necessarily the active one. Keep a small sketch or photograph of the useful position if the microphone is often packed away. This makes it easier to restore a tested arrangement instead of repeating the same comparisons before each call.